7 Essential Steps for Effective Sewer Backup Cleaning in New Jersey
- Hench Ludwig
- Nov 5
- 3 min read
Dealing with a sewer backup can be a daunting task. However, with a little guidance and some essential steps, you can efficiently clean up and restore your home. In this guide, we'll walk you through the process, ensuring you are equipped to handle even the messiest of situations.

1. Assessing the Situation
Before jumping into the cleanup process, it's crucial to evaluate the extent of the backup. Determine which areas are affected and the severity of the overflow to devise an effective plan of action. Often, a quick glance might not reveal hidden water accumulation in walls or under floors, necessitating a thorough inspection. Using a moisture meter can help determine if areas are saturated beyond what you can observe visually.
Assessing the situation correctly not only informs your cleanup strategy but can also prevent further contamination. Knowing which sections of your plumbing system failed can help in discussing further preventive measures. Also, prompt evaluation minimizes the chance of damaged properties going unnoticed, which could escalate repair costs later.
2. Prioritizing Safety First
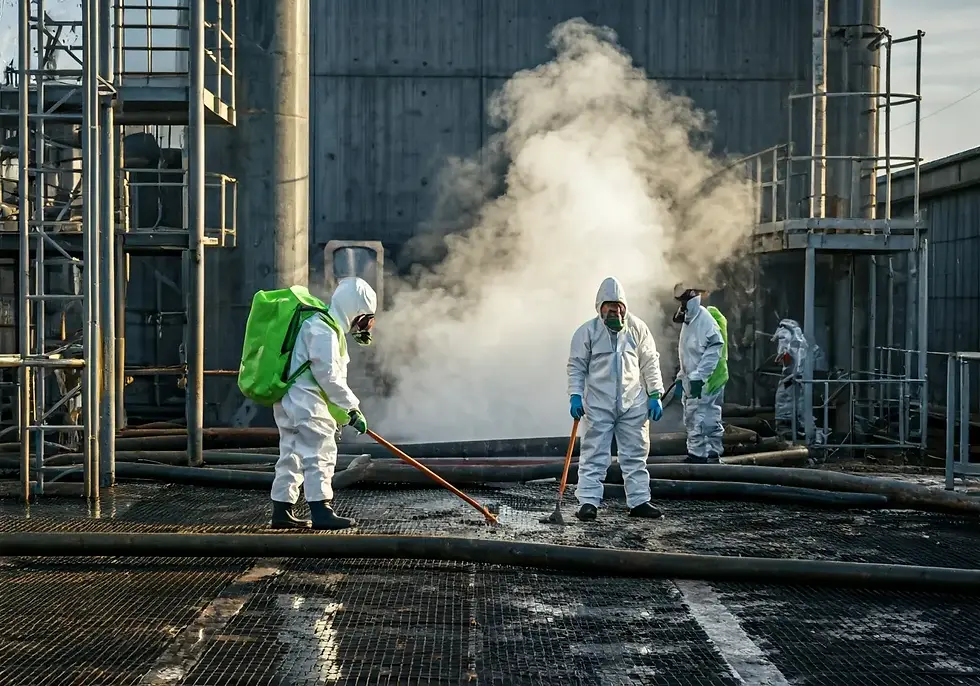
Safety should always be your top priority. Ensure you equip yourself with protective gear such as gloves, boots, and masks. It’s essential to avoid any direct contact with contaminants. Standing water from sewer backups often contains harmful bacteria and viruses. Full-coverage gear helps mitigate these risks considerably while ensuring personal safety.
In addition to personal safety, ensure the area is well-ventilated to prevent inhaling fumes from cleaning agents or mold spores. Open windows and doors, and turn on exhaust fans if available. If the situation feels overwhelming or you suspect hazardous materials are present, calling professionals is always a wise choice.
3. Removing Standing Water
Once you're suited up, begin removing any standing water. A wet vacuum can be highly effective for this task, but you can also use mops and buckets for smaller volumes. It's crucial to start this process quickly to minimize water damage and prevent structural deterioration.
Consider using pumps for larger volumes of water to accelerate the removal process. This is especially important if time constraints limit your ability to manually remove all standing water timely. It's key to ensure thoroughness here, as residual moisture can lead to secondary damages like mold growth.
4. Cleaning and Disinfecting
After removing water, thoroughly clean and disinfect the affected areas. Use strong cleaning agents to eliminate bacteria and prevent mold growth. Look for disinfectants that are rated to handle biohazards for maximum effectiveness. Scrubbing surfaces with appropriate brushes also ensures contaminants are properly lifted.
Remember to pay attention to corners, crevices, and upholstery that may have absorbed contaminants. It's advisable to use disposable cloths or brushes to avoid cross-contamination. Let the disinfectant sit for the recommended dwell time to maximize its efficiency.
5. Drying Out the Area
Dehumidifiers and fans are indispensable in drying out the area completely. This step prevents mildew and discourages pests from gathering. Set up multiple fans if possible to create strong air circulation through the affected area. The faster the site dries, the lesser the chances of long-term damage.
You might also want to consider using heaters in combination with dehumidifiers, especially in cooler climates where natural drying could take longer. Keeping a check on humidity levels can guide you when equipment should be turned off to prevent excessive dryness that might crack surfaces.
6. Checking for Damage
Inspect the area for any damage to walls, floors, or electrical systems. Prompt repairs are vital to ensure the structural integrity and safety of your home. Look especially for warping signs in floorboards or soft spots in drywall, which could indicate water has been absorbed and may require more intensive repair.
Moreover, keep an eye out for any discoloration or suspicious odors, which might suggest hidden mold. Consulting with a structural engineer or a certified plumber to review these inspections might offer peace of mind and ensure that nothing vital is overlooked.
7. Preventing Future Backups
Finally, consider implementing measures to prevent future sewer backups. Regular maintenance and inspections of your plumbing system can save you from future headaches. Installation of backflow prevention devices can also be invaluable – this simple addition can stop unwanted sewage from re-entering your home during heavy rainfall or blockages.
It’s also wise to properly maintain outdoor drains and downspouts to ensure they’re not contributing to the sewage load. This proactive step reduces the risk of clogs, ensuring your system operates efficiently. Explore our services for more information on preventive care.


Comments